
I got around to actually spraying Primer onto the OEM Lip kit. Here are the steps and some pictures from this stage of the automotive painting process.
First step, is to clean the pieces to be painted. I used dish soap on my rear valences as pictured:

My primer of choice for this project, Duplicolor sandable black primer:

Then spray the primer about 6 - 12 inches from the pieces being painted. Here are the rear valences after being sprayed with primer (coat number 2) :

A closer pic of the primed rear valences:

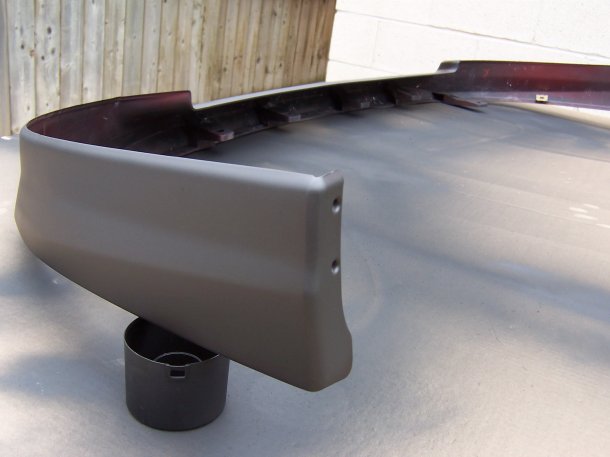
Here is a picture of the Front Lip Primered:

Different view of lip primed:
The Front Lip and Rear Valences primed together:

Here is a picture of the Side Skirts not primed yet:

And now the Side Skirts are primed:

Close up shots of the side skirts primed:

After this was completed, I waited one week for it to dry. You can simply go to painting, however i've read primer takes a bit of time to dry so it wont flex in the future. So I chose to wait one week (also due to not having time that day).
Then the next weekend I Wet Sanded the primed pieces with 600 grit wet / dry sandpaper very lightly. You will notice the primer has a rough gritty feel to it that you don't want your paint to be like. Sanding with 600 grit gets rid of this gritty feel and makes it smooth to the touch, but not too smooth for the base coat paint to stick to it.
Keep tuned to see the Lip Kit pieces painted.
Regards,
MK
No comments:
Post a Comment